- cross-posted to:
- [email protected]
- cross-posted to:
- [email protected]
(long time lurker, first time poster)
A few months ago, a friend convinced me on the benefits of cast iron skillets. Having only used Teflon-coated non-stick pans, I figured it would be worth a try, if I could find one at the thrift store. Sure, I could have just bought a new Lodge skillet, but that’s too easy lol.
So a few weeks pass and I eventually find these two specimens at my local thrift store, for $5 and $8 respectively. It’s not entirely clear to me why the smaller skillet cost more, but it was below $10 so I didn’t complain too loudly. My cursory web searches at the store suggested that old Wagner skillets are of reasonable quality, so I took the plunge. My assumption is that the unmarked, smaller skillet is also a Wagner product.
| 10-inch skillet ($5) | 9-inch skillet ($8) |
|---|---|
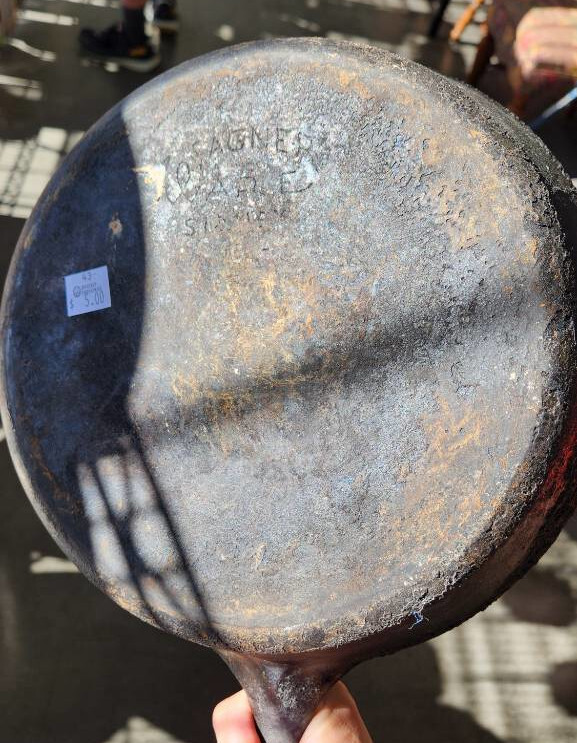 |
|
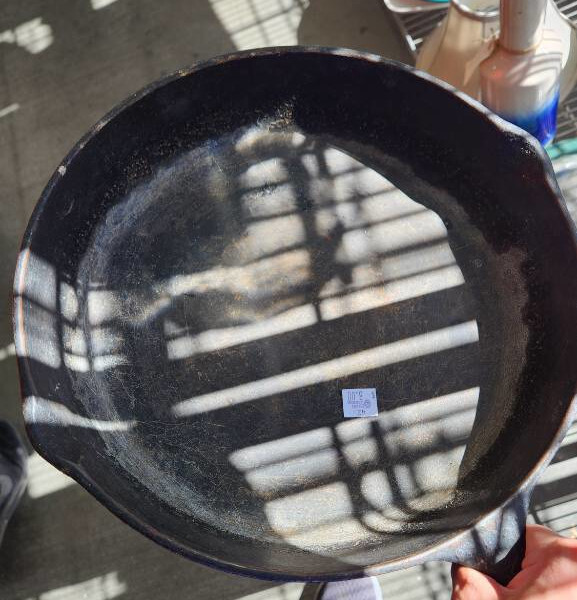 |
It’s very clear that both these skillets are very crusty. Initially, I tried to remove the buildup using a brass wire brush. This was only somewhat successful, so I switched to a stainless steel wire brush. That also didn’t do much, except reveal some of the inscription on the bottom.
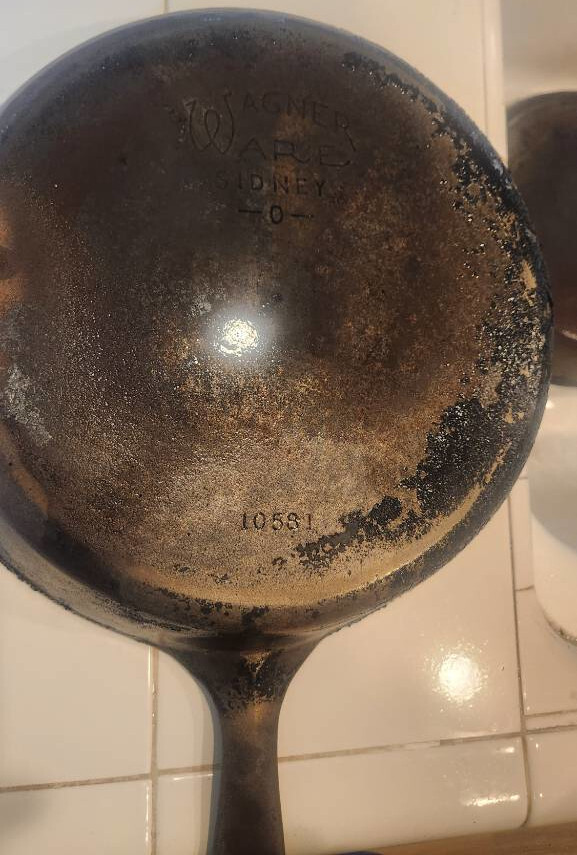
Some research suggested I could either do an electrolysis tank, a lye bath, or try lye-based oven cleaner. For want of not over-complicating my first restoration attempt, I went with the oven cleaner method, using the instructions from this video: https://www.youtube.com/watch?v=2Pvf0m9jTeE
For both skillets, I had to apply the oven cleaner six times to finally shift all the crud, each time leaving the skillets in the garbage bag for a full day-and-a-half in the sun. In between applications, I would brush off more buildup, with the handle root and the skillet walls being the most stubborn areas. The whole process smelled terrible and hunching over the garage utility sink to brush pans is not my idea of a pleasant time.
Nevertheless, having stripped both pans, I proceeded with six rounds of seasoning with very old corn oil – it’s what was handy – at 450 F (~230 C) using my toaster oven. This happened over six days, since I wanted to use my excess daytime solar power for this endeavor. I wiped on the oil using a single blue shop towel, to avoid the issues of lint or fraying with paper towel.
I don’t have a post-seasoning photo for the larger skillet, but here’s how the 9-inch skillet turned out. I think I did a decent job for a first attempt. And I’m thrilled that these are as non-stick as promised, with only minimal upkeep required after each use.
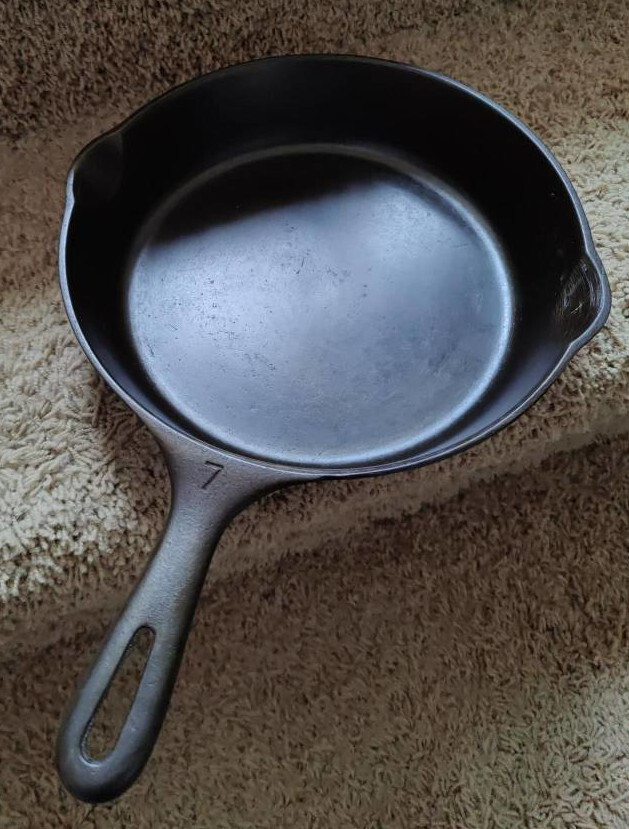
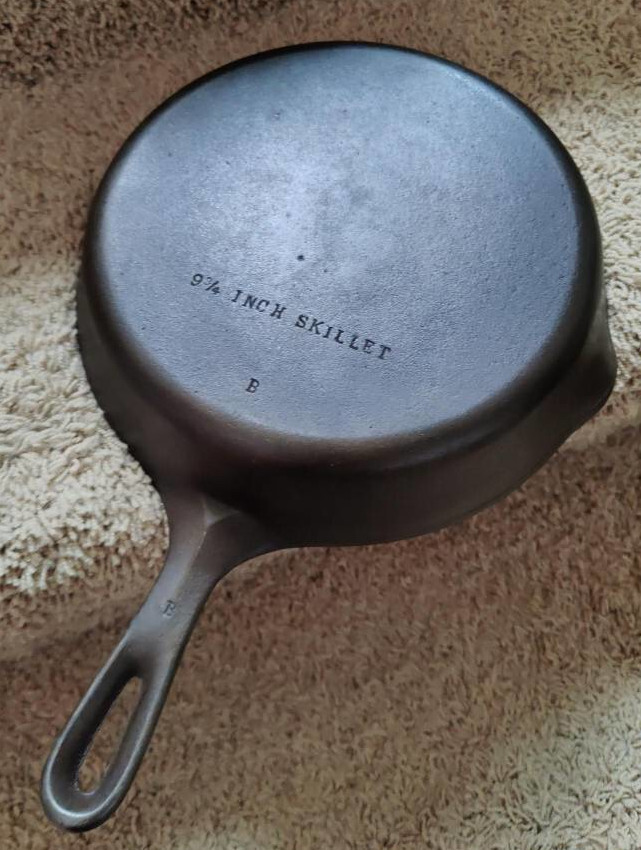


Thank you for your kind remarks. One of the reasons I wanted to completely strip it down and re-season was to later be able to visually assess if I’m doing a sufficient amount of post-mealprep cleanup for cast iron.
If in 5 years it still looks as good as that photo, then my procedures must be sufficient. If not, then I can devise a plan to adjust my cleanup process. Even though the skillet itself can take a beating and still cook, I want it to reflect my kitchen technique (or lack thereof) so I can learn and improve. Just as the person before me used this instrument, I intend to craft my own culinary destiny, wherever it might take me.
But all the same, a well-seasoned skillet reflects the passage of time and history. And that’s often worth saving. So I’m not saying all skillets need to be stripped down, nor that all skillets must be left alone to develop copious polymerized layers. In the end, a skillet is a tool, unable to cook on its own. It needs a trained hand to wield its handle, to take decisive action, and to occasionally burn when forgetting to use a handle holder lol