

日产 = rì chǎn
(originating from (the land of) the sun)


日产 = rì chǎn
(originating from (the land of) the sun)
Another classic as a bonus.
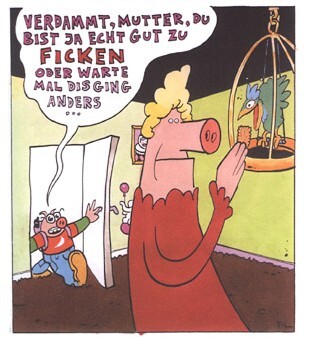
Sadly, this one can’t be translated, because it’s a twist on a German word play:
MAN THINKERS - Are All Rich People Pedophiles?: https://youtu.be/JftenwRmtAs
Knorkator - Lied vom Pferd: https://youtu.be/Pi8dtuL9Vzk
Lyrics:
Die Tür steht auf, ich trete ein.
Du lächelst nie, doch dein Glück kann ich fühlen.
Und meine Hand fährt durch dein Haar.
Ich lehn mich an dich und schließ’ meine Augen.
Dann leg’ ich dir die Riemen um.
Verstehn′ uns ohne ein Wort zu sagen.
Du atmest tief, dann geht es los.
Ich halt mich fest und du gehst darin auf,
mich zu tragen.
[Refrain]
Trag mich so weit es geht,
trag mich egal wohin. [trag mich]
Solang’ ich nur bei dir
und in Bewegung bin. [trag mich]
Dein Körper glänzt im Abendlicht.
Ich spür’ die Kraft hinter jeder Bewegung.
Du bäumst dich auf, ich geb mich hin.
Und unter jedem deiner Schritte erbebt
die Umgebung.
[Refrain 2x]
Trag mich so weit es geht,
trag mich egal wohin. [trag mich, trag mich]
Solang’ ich nur bei dir
und in Bewegung bin. [trag mich]
[Outro]
Trag mich so weit es geht,
trag mich so schnell du kannst. [trag mich, trag mich]
Trag mich wohin du willst
und halt nie wieder an. [trag mich]
It’s super sweet “artificial”/“heavy” milk (water, whole milk, condensed milk, emulsion - to keep it creamy by binding the fat to the water - sugar, artificial flavoring… as can be read at the bottom).
Kinda like Angel Milk / Creamer / Vietnamese Milk / Milchmädchen (as someone already mentioned).
And the translation is kinda off.
It’s “rich/successful/prosperous kid” - but I guess that sounded lame to the Chinese, so they chose “hot” - but as in “cool”, not “sexy”.
Also, the bubble left to it reads “I love (it)”.


Same here.
A lot of threads up until some weeks ago felt kinda barren, because there were no or little interactions in the comment sections.
Now things are starting to feel more lively, engaging and interesting, because comments provide additional background and/or counter-arguments - and sometimes just good old stupid fun. :-P
2 buff guys with a German accent: “But what about the wasteland?”
Mockingly using their accent: “Screw the wasteland!”
Your comment made me think and I’ve had the opposite problem.
I couldn’t think of any clever comebacks.
The only one I’d have is:
“That’s because you don’t know how to ride anything but the short bus.”
What are the ones you’ve had in mind?

Long may the sun shine!
Michael Bluth: “Her?”
I’m old enough to remember the McDonald’s ad.
But to me it will forever be associated with
Saint Pepsi - Enjoy yourself: https://youtu.be/_hI0qMtdfng
So I take it the bells also do not jingle? :-P


I’ll check, if the email address from years back is still valid.
If it is, I’ll send a mail and update you on the outcome.


Thanks. Yeah, I could go on and on (like seeing Titanic for the first time in a small theater in Bei Da He - with a couple in front of me making out - so I had to be the asshole who was interrupting them constantly to get at least some parts of what was said in the movie). I got to relive some old memories, realizing that they were still clear as day after all these years. But I was on my phone - so I’d already typed for an hour or two (I never mastered the art of typing on the phone - until this day I’m still swiping). Also, who’d actually want to read a wall of text, that just bubbled to the surface with little coherency and lack of creative writing.
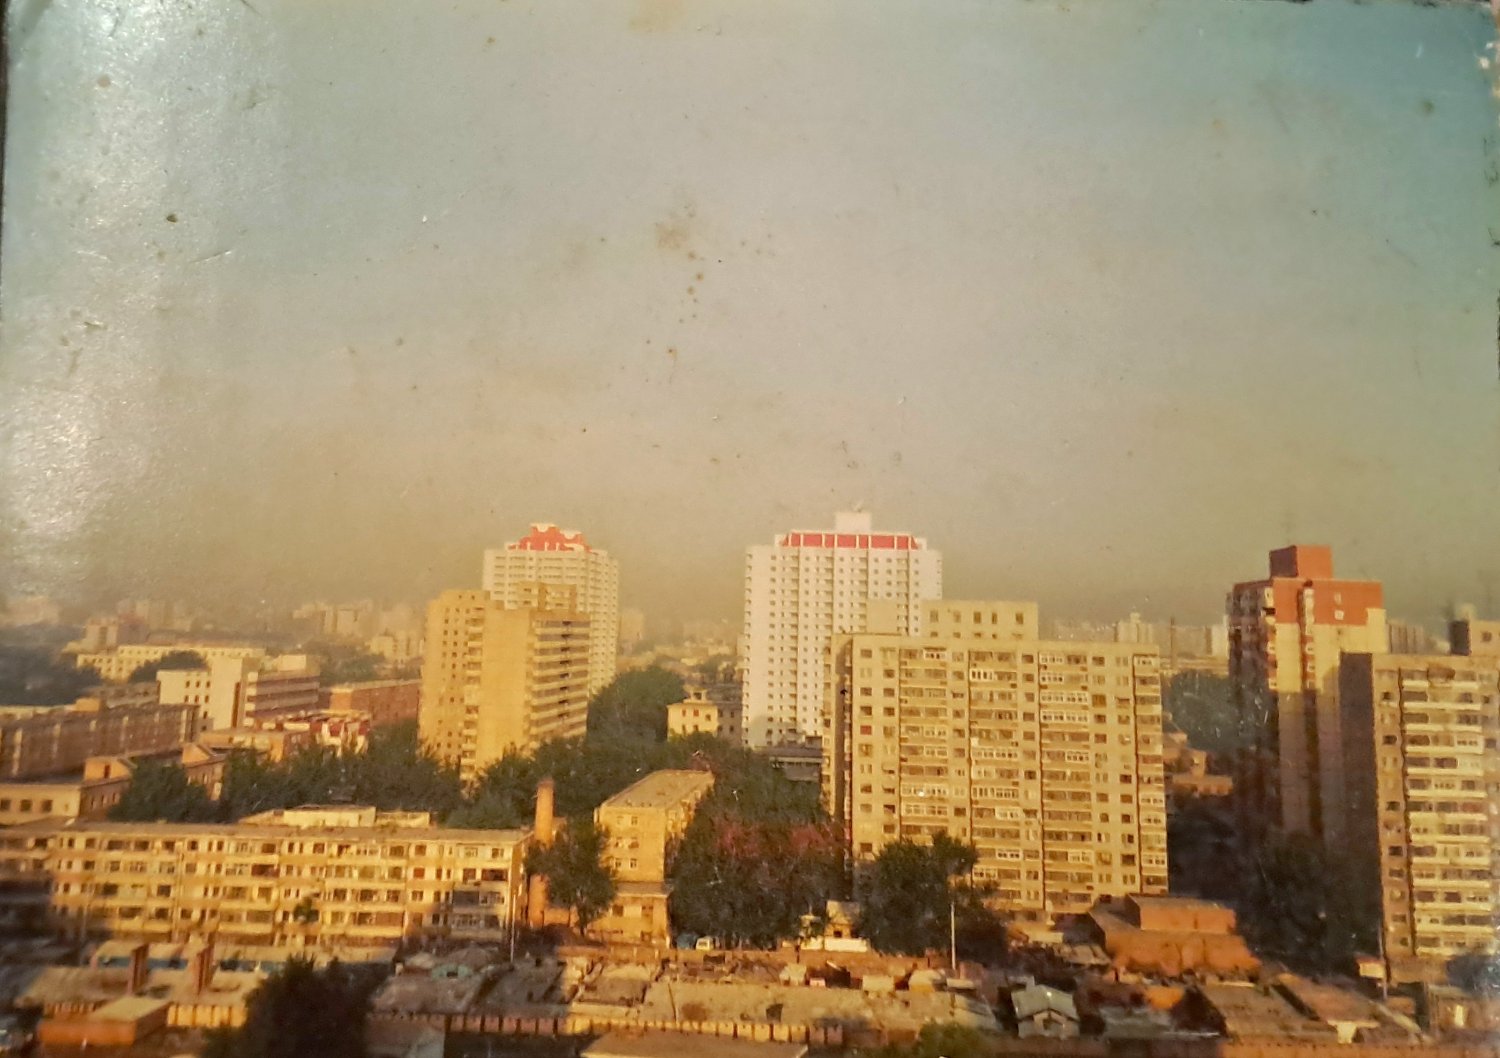
Though I’ll see, if I can find the picture from my room’s window in Beijing back then. It still has the old Hutongs in it. I remember waking up every morning to this gorgeous view, hearing the first rumblings of the market, the first trains, the radios being switched on in the small parks everywhere for the old people’s Tai Chi exercises and the myriad of breakfast aromas in the air.
Edit: Found it. Since it’s glued to the front cover of the photo album, it wasn’t as well protected as the other pictures (which I’d also already scanned some years ago).
But for me it still invokes the same amount of nostalgia.
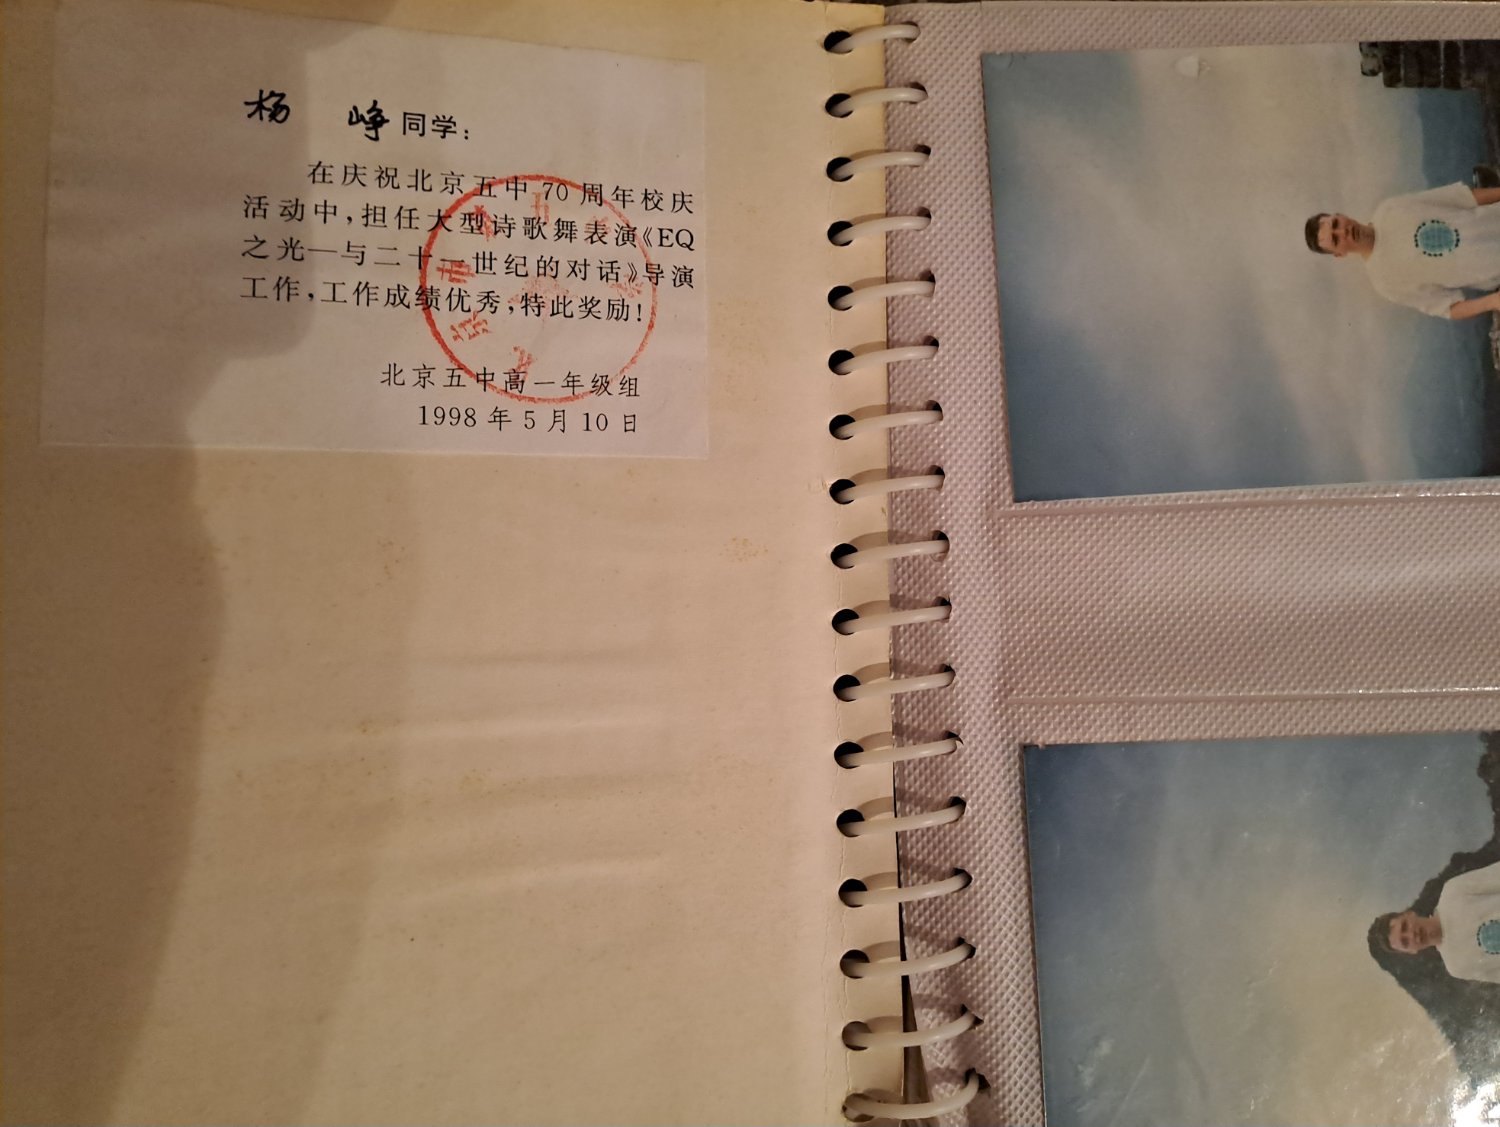
The writing inside the album also reminded me, that the album originally belonged to Yang Zheng, which he had gained as a price for his outstanding performance with his saxophone.


Interesting. To me, Japanese seems much more difficult. :P
I also have no idea how much of my experience is still applicable to modern China.
Back then China was really opening up to the West, eager to soak up everything new. It was still a sort of balancing act for the party (at the one hand, you could more openly criticize the party etc, but on the other you had stuff like the persecution of Falun Gong).
Beijing still had its old Hutongs, Hong Kong was still British and “bad mainland Chinese tourists”, the “elbow” culture and flaunt of wealth/status weren’t really a thing, yet.
Now China is turning inwards again. It’ll have to weather some rough economical, social and political (external + internal) storms. And it’s choosing the “nationalistic” and restrictive approach for that (which is pretty much the current West’s approach/trajectory, mind you, but it’s still sad to see).
But even so, I still love China. It really is a world of its own. You can meet hundreds of different cultures, see humble villages and mega cities, experience ancient traditions and cutting edge tech, travel through almost all climate zones, terrains/landscapes, flora and fauna -and still never leave its borders.


I took part in my school’s exchange program with China back in 98 (we also had one with the US and Australia).
I was 15 at the time and had been learning Chinese as my fourth foreign language for two years at that point (Latin, English, French, Chinese, Ancient Greek).
Chinese wasn’t mandatory, but I was into Manga/Anime and I didn’t want to go to evening classes for Japanese. So I took the Chinese class at our school, because I assumed it couldn’t be too different.
And I got hooked. I eventually even went to University (TU) at the weekend to study with Chinese kids (we’re talking mostly 1st / 2nd graders, but still :p).
Our principal approached me one day and asked, if I wanted to partake in our school’s exchange program with Beijing’s Wu Zhong (5th middle school). I was thrilled and honored, but didn’t have the money.
My grandparents came to the rescue when I told them about it. They said, that it was a great opportunity to broaden my horizon and paid for the flight and gave me some extra cash.
So at the spring of 98 I went to Beijing to meet my exchange family (family “Yang”). They were originally from the South (Hang Zhou, I later went there to visit the family). And even though I’d never met them before, they made me feel like part of the family right away. We lived in a tall apartment complex at the 3rd or 4th highway ring at the 15th or 16th floor. Even the neighbors were really kind to me. I remember an old lady in the elevator of our building calling me “handsome” (not as flattery, but more as a nice gesture).
My buddy Yang Zheng was like a brother to me. He even had a similar English name to mine. And we both loved playing video games.
Thanks to him I discovered Neo Geo emulation, Virtua Fighter 2, QQ, Internet cafes (where I played my first rounds of Star Craft) and shady games/VCD vendors (real store front, but you just filled out a list and then collected your “items” outside in the backyard).
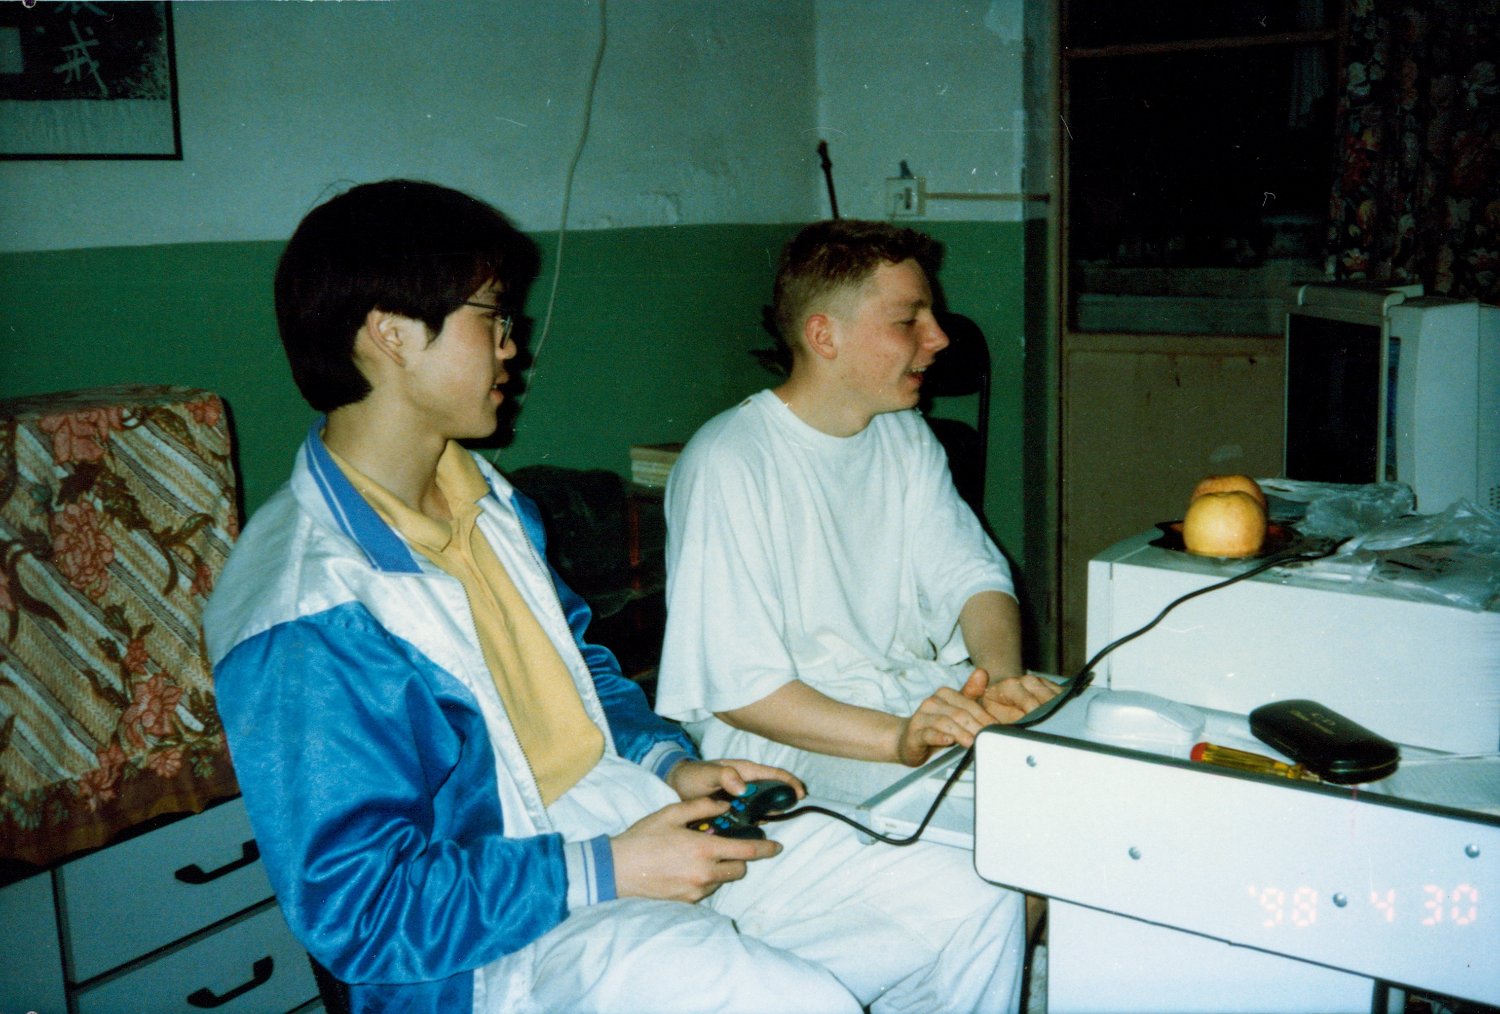
He was more into basketball, but still went out his way to take me to the backyards where the kids played soccer (because I kinda sucked at basketball, but was at least somewhat capable at soccer).
My Chinese dad (Professor Yang Yuanyi) lead an institute, that worked on modern Chemical products like skin care and advised the government on Chemical safety (from what I understood). My Chinese mom worked directly for the government regarding ecological matters (preserving nature etc). They were kinda upper middle class, because they had 3 rooms and their own bathroom, which wasn’t super common at the time (I only learned that later when visiting other friends, who sometimes shared their bedroom with their grandma and had to use the communal bathroom).
And even though they didn’t own a car, we had a really nice neighbor, who would drive us around in his black VW Santana. Thanks to him I got to see the outskirts, the further parts of the Chang Cheng, the lake, that provided fresh water to Beijing - and later we even went to Bei Da He, which is far up in the North.
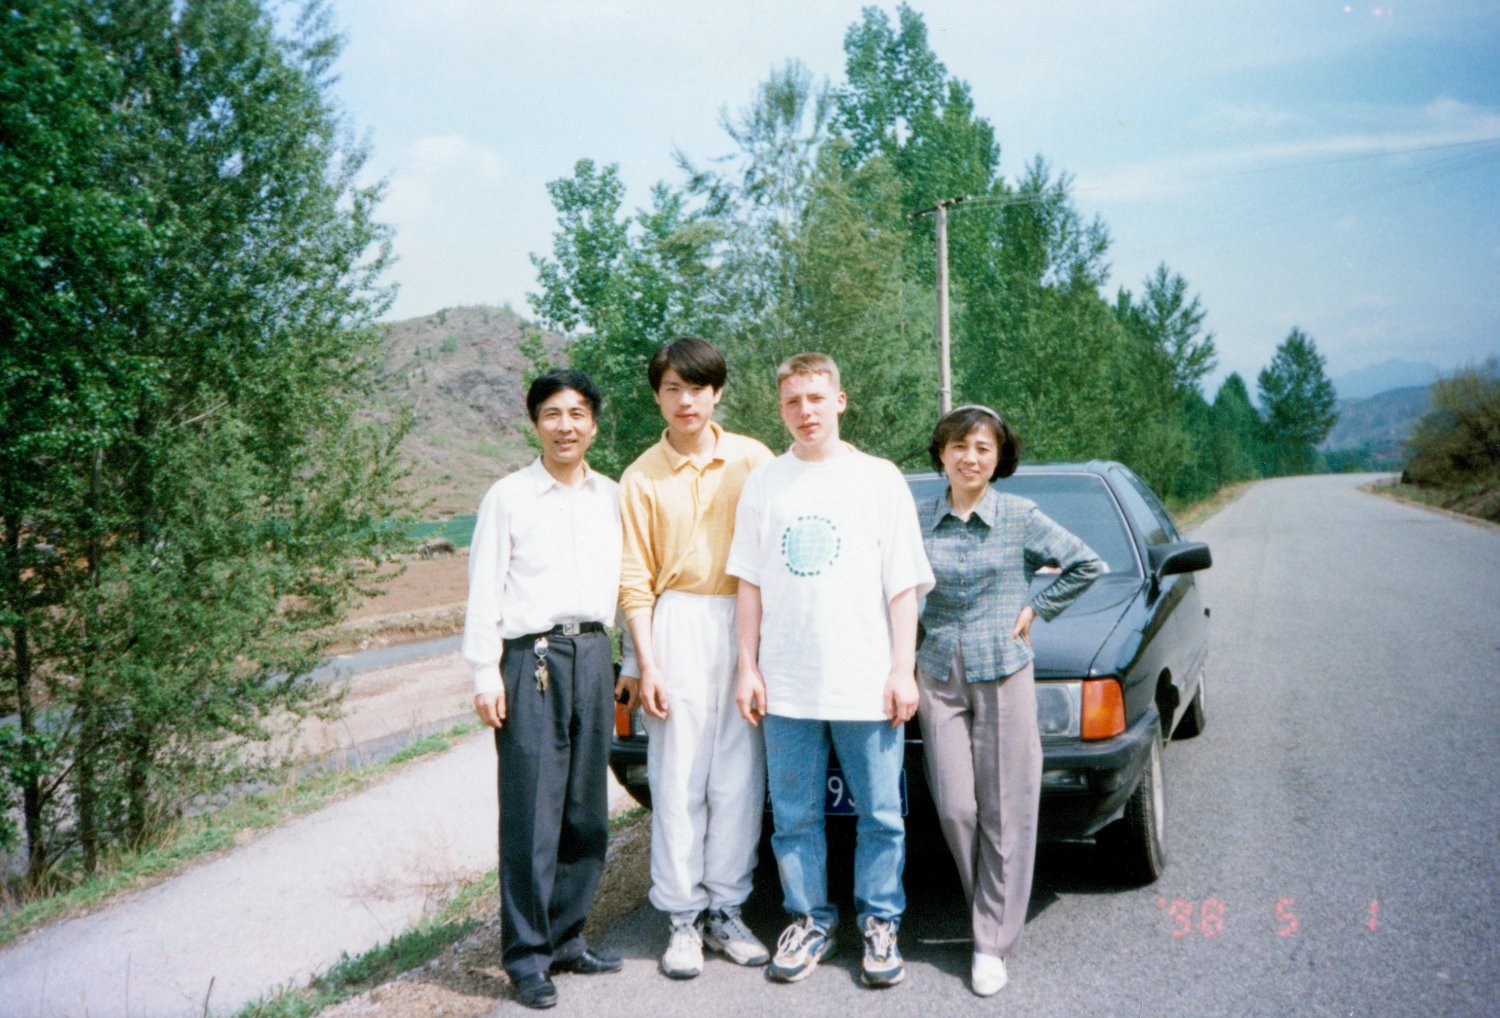
I loved everything about Beijing and went everywhere on my bike. I discovered the massive number of tech shops around the 4th highway ring and even bought my first VHS player (which by the time was old-school for Chinese, who had switched to VCD/SVCD already and would soon transition to DVD).
And I loved going to school. To me it wasn’t any different from any other school (except for the morning drill and the kinda mandatory Tai Chi). I sat in the back with the the more “slacky” students (shout out to Xu Kexin and Zhao Qi, who’d dubbed me “Shun Di”, a nickname I’ve kept to this day). We made fun of the teachers, passed notes around, snickered and ranked the girls.
And we all agreed, that Wang Ying was the hottest of them all. But even though we all tried everything in the book to get her to date one of us, she wasn’t interested at all (“Why would I want a boyfriend, which would limit me to one particular guy, when instead I can have a whole bunch of really good male friends?”). Also, she had a crush on a soccer player (Owen Something, can’t remember). So there was no chance in hell.
I also vividly remember the first time we went to a public indoor pool. After you’d proven, that you were capable of swimming, you could do whatever you liked. You could even set up a table and eat right next to the pool. Glorious times.
Oh, also our first time at Pizza Hut. Wang Ying was from a very traditional rich family, so she’d never used a fork + knife before. I couldn’t comprehend how someone could actually struggle to cut out a piece of pizza, but the struggle was real, alright. :-P
In the summer we went to Hang Zhou, which has a ton of other stories attached (the train ride alone was an adventure, taking up a whole day/night). But I’ll keep it short: the beautiful West Lake, weird unsweetened water ice, pagodas, bamboo forests, temples, hot tea and hot soup in the middle of summer after climbing the hills and sweating like crazy. Also, I’d dyed my hair black in an attempt to look more Chinese (I know, cringe, and the barber didn’t get my decision, as pretty much all other customers would have loved to have blonde hair).

And at some point my Chinese family told me, that they considered me as a part of the family. “Whenever you feel lonely, don’t forget, that you have a family here in China.”
Yeah, I fell in love with the country and the people. I actually cried on the plane on my flight back home. Getting off at Tegel airport Berlin felt so small compared to Beijing.
I went back there a few more times (I even celebrated my 17th birthday in Beijing - at the ice rink). I even met my Chinese dad in Berlin a few years later when he visited/spoke at a symposium.
But over the years I have lost contact with all of them. Life gets in the way. A few years ago I almost contacted my Chinese dad, when I found out he had been to Germany to speak at another symposium. I received his current email address, but I never wrote a mail. I just wouldn’t know what to write …
“Every sperm is sacred…”